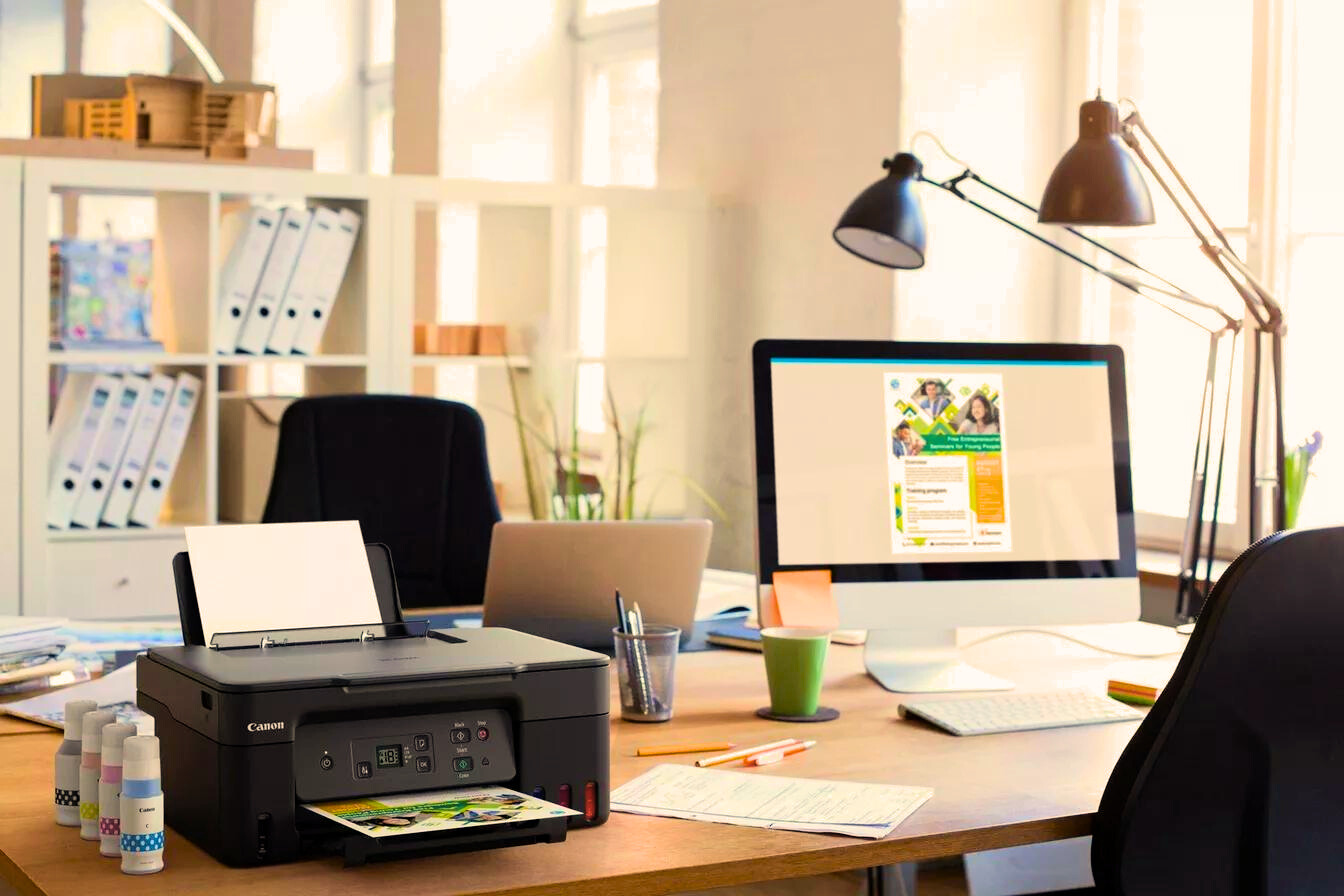
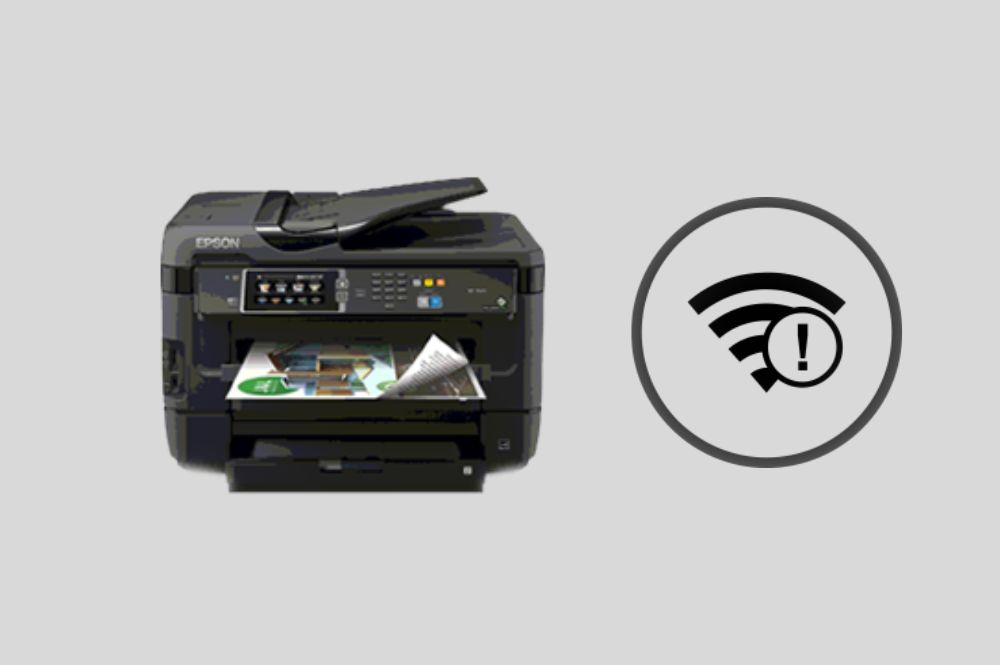
Epson printers are widely used in homes and offices for their reliability and high performance. However, users often face connectivity issues when accessing the printer through wifi. Whether due to an outdated driver or an incorrect network settings configuration, Epson printer wifi connection problems can be frustrating.
This ultimate guide will explore various solutions to how to connect Epson printer to wifi step-by-step. So, buckle up and get ready to ensure your Epson printer is seamlessly connected to your wifi network, and you can enjoy uninterrupted wireless printing.
Preliminary Steps To “How To Connect Epson Printer To Wifi” Issues
Before diving into more advanced troubleshooting techniques, it’s essential to perform some basic checks to ensure that your printer is set up correctly.
1. Provide Proper Placement
Ensure your Epson printer is within the router’s range and not obstructed by physical barriers such as walls or furniture.
A weak wifi signal can cause connection issues. The closer the printer is to the router, the better the signal strength, resulting in a more stable connection.
2. Check Printer and Router Status
Make sure your printer and router are turned on and functioning correctly. If either device is experiencing issues, it can affect their connection.
3. Check Network Connectivity
Confirm that your printer and computer are connected to the same wifi network. If they are not, connect them to the same network and attempt to print again.
4. Restart Devices
Sometimes, a simple restart can resolve connectivity issues. Turn off your Epson printer, router, and computer, then turn them back on after a few seconds.
5. Update Printer Software
Make sure that your Epson printer’s software is up to date. If not, then:
- Open the Epson Printer Utility software on your computer
- Check for updates
- Install any available updates
Advanced Troubleshooting “How To Connect Epson Printer To Wifi” Techniques
If the preliminary steps above do not resolve your connection problem, tune towards more advanced troubleshooting techniques:
1. Checking Firewall Settings
Firewall settings block communication between your computer and printer. Ensure that your firewall settings aren’t preventing your devices from connecting. What you need to do is:
- Open Firewall Control Panel: Open the Firewall control panel on your computer and look for any rules blocking communication with your printer.
- Remove Blocking Rules: If you find any blocking rules, remove them and try connecting to your printer again.
2. Power Cycling The Printer
If your printer isn’t printing correctly or is experiencing connection issues, a power cycle might help. What you need to do is:
- Unplug the Printer: Unplug the printer from the power outlet, and hold the power button for 30 seconds.
- Plug the Printer Back In: After holding the power button, plug the printer back into the power outlet and turn it on. The printer should now be reset and ready for use.
3. Uninstalling And Reinstalling Printer Drivers
Improper installation of printer drivers can cause connectivity issues. To resolve this:
- Uninstall the current printer driver: Use the “Uninstall a Program” feature in Windows to remove the printer driver, ensuring all associated files are removed from your system.
- Delete the Printer: Delete the printer from your list of installed printers in the Control Panel.
- Reinstall the Printer Driver: Download the latest printer driver from the Epson website and install it on your computer. Restart your computer and try printing again.
4. Using The WPS Method
The Wi-Fi Protected Setup (WPS) method makes connecting your printer to your wireless network easier.
If your router and printer support WPS, you can use the Push Button or Pin method to establish a connection.
- WPS Push Button Method: Press the WPS button on your router, then select the WPS (Push Button Setup) option on your printer. Wait for the printer to connect to the router automatically.
- WPS Pin Method: Press the WPS button on your router and select your printer’s WPS (Pin Code Setup) option. Enter the WPS Pin code on your router and follow the on-screen instructions to complete the setup.
5. Updating Wifi Profile
If your printer isn’t connecting to your wireless network, try changing the WiFi name, security code, and encryption type. To this:
- Log in to your router dashboard and update the WiFi name (SSID) and security mode (e.g., WEP 64-bit or WPA2)
- Generate a new WiFi password using the passphrase option in your router dashboard
6. Epson Connect Setup
Epson Connect is a feature that allows you to print remotely from your smartphone, tablet, or computer. To use this technique, all you have to do is:
- Download and install the Epson Connect Printer Setup on your device, and register your printer using the setup wizard
- Once the registration process is complete, you can print remotely using your Epson printer from anywhere worldwide.
Final Solution
Occasionally, updating your printer’s firmware can resolve connectivity issues. Check the Epson website for firmware updates and apply them to your printer.
However, If all method fails, perform a factory reset on your Epson printer, and reconfigure it from scratch.
Conclusion
Epson printers are renowned for their quality and affordability, making them popular among users. However, like other devices, they sometimes face issues, particularly when connecting to a WiFi network.
Resolving connection problems can be simple. You can restore your Epson printer’s Wi-Fi connectivity and enjoy seamless wireless printing if you follow the steps outlined in this guide.
Leave a Reply