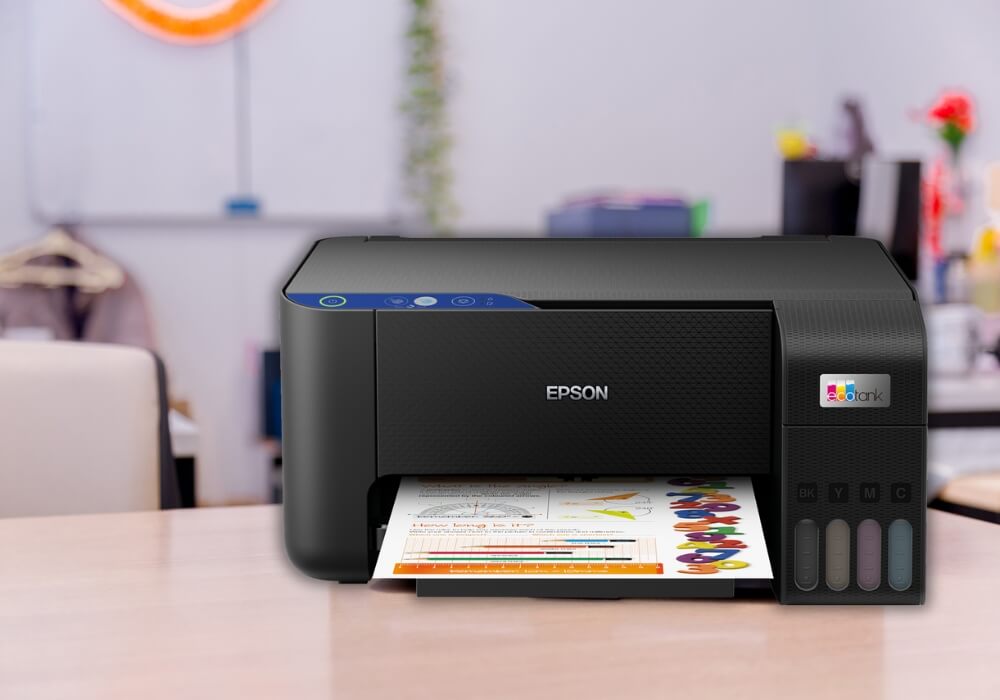
When your Epson printer stops working, it can derail your work ― it’s even worse if you share that printer with a whole office. And trying to fix a printer is intimidating. After all, they’re complex pieces of technology. Therefore, you may wish to wait for a professional to fix it. But did you know you can fix the most common printer problems yourself? You don’t even need special tools or training!
In this blog, you’ll discover what are the most common problems with epson printers and how you can fix them.
Epson Printers Problems and Their Solutions
If you find that your Epson printer doesn’t work properly, it’s probably because of one of these problems:
Printer Does Not Turn on
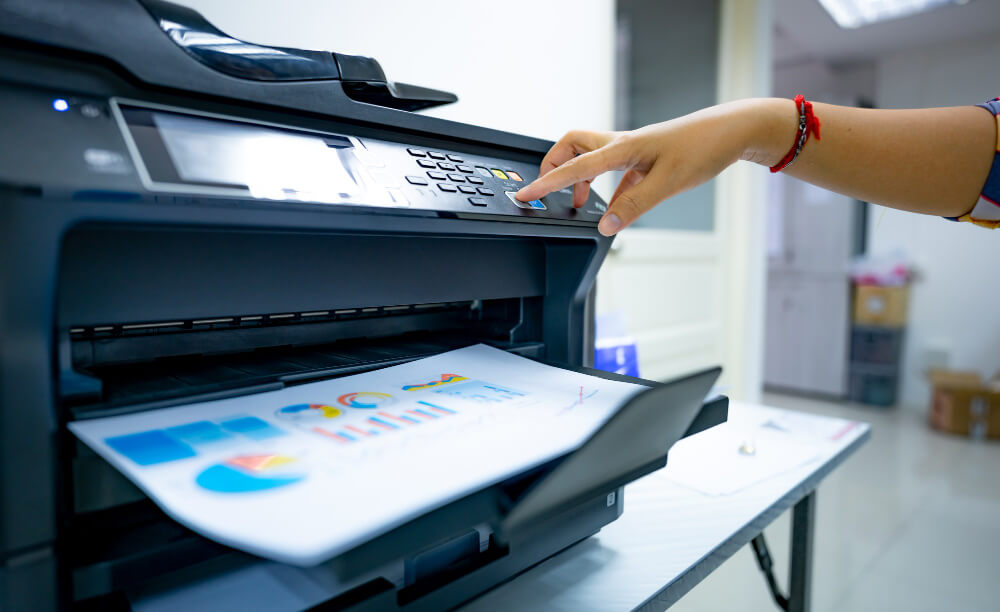
If your printer doesn’t turn on when you press the start button, you should:
- Re-plug the Printer: To get your printer to turn on, unplug it and then plug it back in a working socket that’s not controlled by a switch or timer. Also, the socket should supply the voltage the printer requires.
- Check the Printer’s Cables: Now that you’ve plugged the printer, ensure the cable from the socket to printer is securely attached and has no damage. If you’re printing/scanning via a cable connected to your computer, check that it’s connected well. Also, ensure the cable is the one that came with the printer and don’t use an extension.
- Turn on the Printer: Once you’ve connected the cables, turn on the printer and wait for it to inform you that it is ready.
Printer Doesn’t Print
Your printer might not work for any number of reasons. Perhaps it’s offline and so, it doesn’t receive your print jobs. Or perhaps the epson does not print even though it receives the job. Alternatively, something could be wrong with one of the parts or your supplies. In fact, it could even be a combination of these issues.
If something is clearly broken or needs replacement, you should address it. But if the problems persists, follow these instructions and check if the document prints after each step:
- Check the Cable Connection: To make your printer work, you should check that the cable that links your printer to your computer is securely attached, has no damage, and is a genuine Epson product.
- Check the Wi-Fi Connection: If you’re printing via Wi-Fi, you’ll need to restart the router. Next, you’ll reestablish a connection with the printer and the computer.
- Check the Bluetooth Connection: If you’re printing via Bluetooth, you’ll fix your printer by first checking that Bluetooth is on, on both the printer and your device. Then, disconnect any other device connected to the printer via Bluetooth and/or cable.
- Verify Your Supplies: Now that you’ve connected your printer to your device, you should check that there’s enough supplies for the print job. Specifically, you should ensure there is paper and that ink cartridges have enough ink/toner and that their expiration date hasn’t passed yet.
- Run the Troubleshooter: Now that your printer has everything it needs to print, you should go to its settings. Then, you’ll need to select ‘Update & Security’. There, you’ll find ‘Troubleshoot’. Select it and follow the steps it displays.
- Turn Off Your Firewall: If the printer still doesn’t work after you have run the troubleshooter, you should turn off your anti-virus. Since anti-viruses can disrupt connections to printers, it might be why your printer doesn’t work.
- Set Your Printer as a ‘Default’ and ‘Online’: If the printer doesn’t complete print jobs after you’ve turned off your firewall, open your settings. From there, you’ll go to ‘Printers & Scanners’ and set the Epson printer as the default and ‘Online’.
- Check Your Drivers: Now that you’re sure that your device is sending the print jobs to the right printer, check that you have the right printer drivers. Over time, your printer may need new drivers to work properly. The printer will usually show you the ‘Epson 0xc1’ error code. In that case, you’ll need to go to your printer’s webpage and download any new driver meant for your device.
Poor Quality Prints
Leaking ink, insufficient ink/toner, and printing on the wrong side of a piece of paper are some of the most common problems with epson printers. All of these cause bad quality prints, but you can solve this issue with these steps:
- Check the Printer’s Surface: To fix the quality of your print, you should first check that the surface the printer rests on is stable and flat.
- Check the Printer’s Supplies: Once you’re sure the printer is stable, check that the paper is clean, has no damage, and fits the printer’s specifications. Then, check that the toner/ink are genuine Epson products and that they’re not expired. You can also replace the ink/toner.
- Run Printer Utility: After you’ve checked the printer’s supplies, run ‘Head Cleaning’ and ‘Head Alignment’ utility. This will clean out the nozzle and ensure the printer puts the right ink in the correct areas on a page.
- Adjust the Settings: Now that the printer has cleaned its nozzle and aligned its head, you should change the settings of your printer. In particular, you should use a size smaller than ‘Maximum’ for printable area, turn off ‘High Speed’, and match the paper type and borders to the paper you’re using.
- Print and Collect Each Paper: With the settings finally adjusted, you should print the document. As each paper comes out, you should remove it without touching the ink and place it aside.
- Clean Your Printer with a Cloth: If the poor prints persist after you have printed and set aside the papers, clean the inside of the printer with a dry, soft cloth that doesn’t leave behind fluff.
Paper Jams
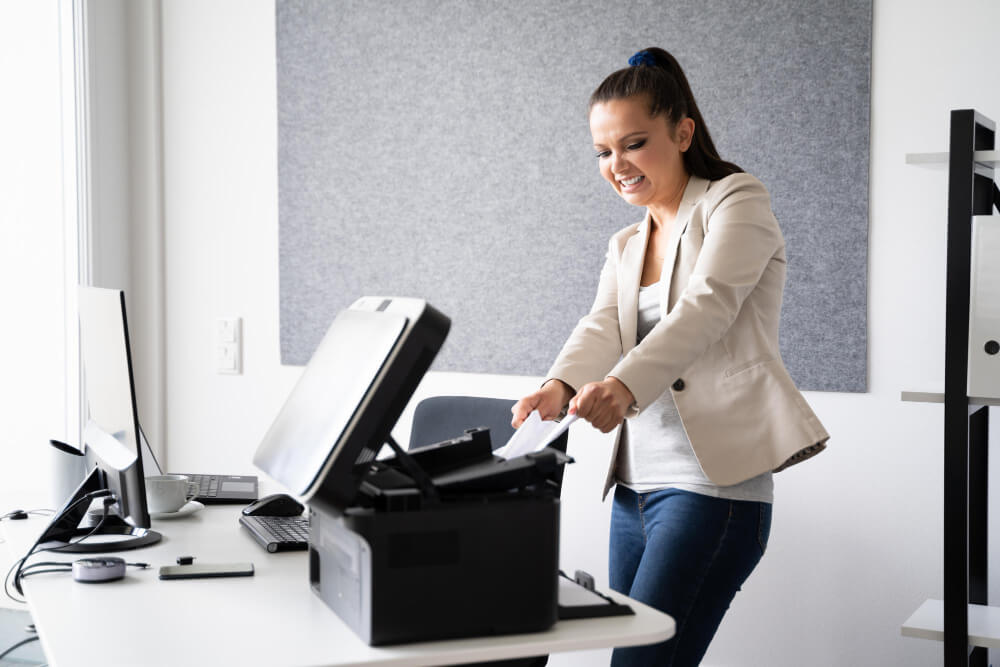
Paper jams are one of the most common problems with epson printers. That said, you can quickly fix this with these steps:
- Turn off the Printer: To fix a jammed printer, first press the ‘off’ button and then unplug the printer.
- Remove the Paper: After you’ve turned off the printer, remove the paper that’s in the tray.
- Prepare the Paper: Once you’ve emptied the tray, get paper that matches the printer’s specifications. Then, separate each paper and ensure they’re flat and intact. Next, you’ll stack them evenly so they’re all aligned.
- Replace the Paper: After you’ve prepared the paper, put it back in the tray.
- Remove Jammed Paper: Now that you have prepared paper in the tray, remove the jammed paper. You can access the paper via the back door. Then, your printer should work properly after you have plugged it back in and turned it on.
Summary
Now you know epson printer troubleshooting tips that will fix common printing issues. Fixing your printer boils down to putting it back in its optimal condition. That means, checking that you connected everything properly and isn’t broken. Plus, you’ll need to clean the printer and remove jammed paper. It also means using Epson products and checking that they’re not expired. Then, you can run the printer’s utility for it to clean and realign itself. Finally, read the printer’s warnings and follow its instructions and your printer will work once more!
Leave a Reply