The Printhead is an important component of printers and plays a crucial role in producing high-quality images and texts. When printing something, its main job is to spray the ink onto the paper and transfer your image or text onto it.
Over time, the print head can accumulate ink residue and debris, leading to poor images and text quality. This is particularly evident when your prints start to look smudged, streaky, or have missing dots.
Therefore, maintaining a clean print head is essential for ensuring high-quality prints from your Epson Printer.
The good news is that you can clean your Epson printer head to restore its performance.
Here is how!
Step-by-Step Guide to Clean Epson Printer Heads Manually

Before start cleaning your printer head, you need to gather all the materials needed.
Items Required
- Blotting paper
- Scissors
- 1 inch silicone tube
- 10-cc syringe
- Isopropyl alcohol
1. Find the Maintenance Menu
To learn how to clean an Epson print head, you first need to look for the printer properties. On Macintosh and Windows computers, you can find these options, “Printer Preferences, Maintenance, or Utility.”
2. Initiate a Cleaning Cycle
Then, an option appears in the Print Head cleaning tab. Click the OK button or the ‘Start’ button to begin the process.
3. Run a Nozzle Check
In this step, run a print nozzle check to test the printing quality after the cleaning cycle finishes. You can do this by clicking on the ‘print test’ tab after you start cleaning.
4. Examining the Test Pattern
Analyze the test pattern and compare it to the one on your computer screen. Run another cleaning cycle if the test pattern does not match.
5. Flush the Nozzle
Start a printing cycle to expose the printer head and unplug the computer from the electric outlet during the printing cycle.
6. Move the Printer Head
Open the access hatch of the printer and move the printer to the middle for easy cleaning of the nozzles. Do not plug in the printer when doing it.
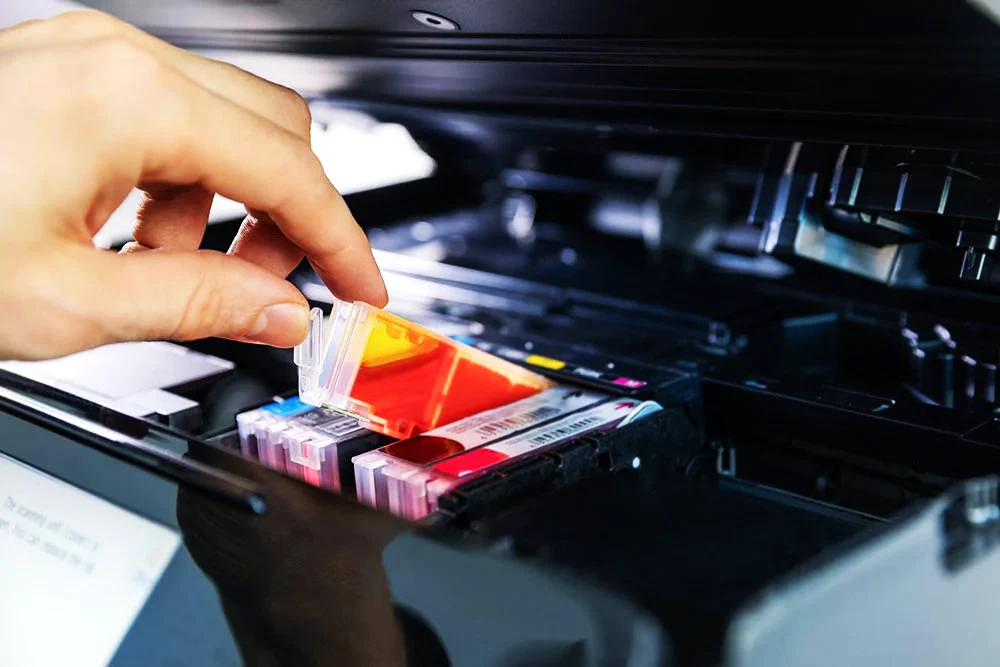
7. Remove the Ink Cartridges
Place blotting paper under the printing head and remove the ink cartridges. Cut your blotting paper into strips if it does not fit under your printing head.
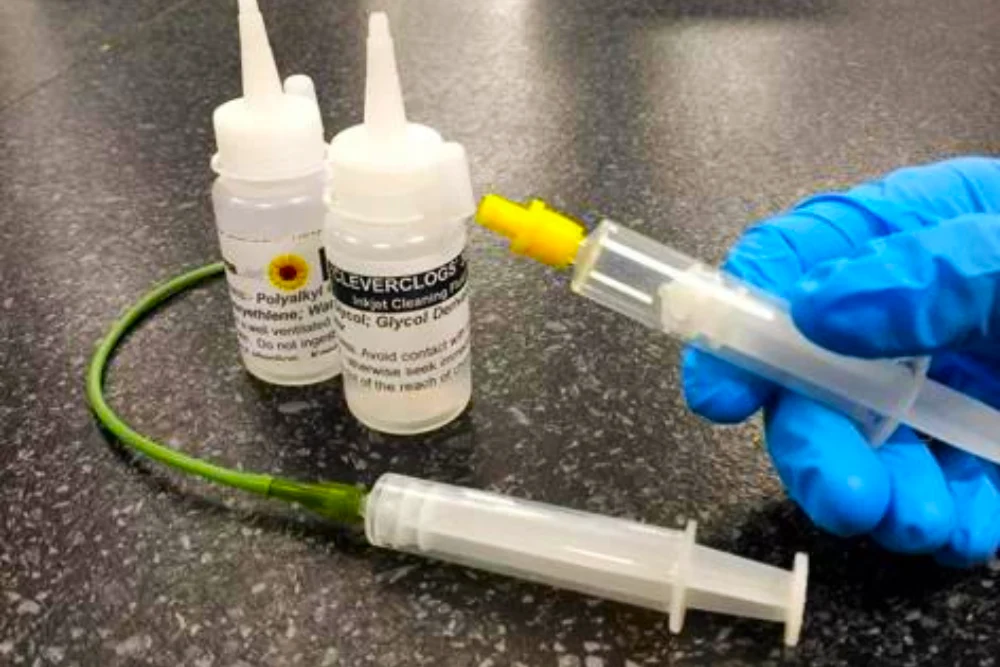
8. Place your 1-inch silicone tube onto your clean syringe
Using a needleless 10 cc syringe, place a half inch of silicone on your syringe.
9. Fill your Syringe with Isopropyl
Place the silicone tube into the isopropyl and slowly pull the plunger. Make sure the syringe does not contain air bubbles as you fill it. Connect the syringe to the print head.
10 Flush the Printer Nozzle
Push the plunger slowly when the silicone tube attaches to the printer head. Do not rush this step. Otherwise, you’ll damage the nozzle. Alternatively, you can dampen a microfiber cloth with distilled water and wipe the nozzles to remove dried ink.
11. Remove the Blotting Paper
When you finish cleaning the nozzles, move the printer head to the right. Pull out the wet blotting paper and dispose of it.
12. Put Everything Back
Replace the ink cartridge and turn the printer back on.
After doing all these steps, if your Epson printer is still producing smudgy results, it’s the ideal time to replace its printhead.
How to Clean Epson Printer Heads Automatically

Did you know cleaning an Epson printer head can be automatic? Below is a simple guide.
For Macintosh computers:
- Make sure your Epson printer has ink and paper.
- Find the Print or Page setup on your printer.
- Click the Utility tab, then the Auto Nozzle Check, and then the Cleaning button.
- Follow the onscreen printer guide.
- Let the printer complete the cleaning cycle.
- If the printer still doesn’t work well, turn it off and wait till the next day.
- Call your distributor if the print quality remains an issue after changing ink cartridges.
For Windows computers:
- Make sure the printer is on and that it has printing paper.
- Ensure the ink-out light is off.
- Find the access printer software on Windows.
- Select Maintenance and find the Head Cleaning button.
- Follow the instructions displayed.
- When the power button stops flashing, load some papers and click Print Nozzle Check Pattern.
- Clean the printer head manually if the nozzle page does not match the test pattern.
After all, test the ink in black, white, and color. If the printer head produces a test pattern with gaps and blurs, replace the entire print head.
What Causes Clogs in Printer Heads?

When your printhead nozzles are blocked, you can’t print documents and images. The sooner you can solve this, the sooner you can clean the Epson head printer. Here are some of the causes to consider:
- Misaligned nozzles will accumulate materials, causing clogging.
- The filament will burn, melt, or malfunction if the temperature is extreme.
- You keep printing with empty ink cartridges, causing your printer to overheat.
Tips for Maintaining the Printer Head
Here are a few tips to keep your printer head working properly:
- Only clean your printer head if it’s having trouble printing.
- Don’t open the front cover or turn it off when the printer is cleaning itself. It needs to be completely done; otherwise, it won’t be able to print.
- You should print something at least a few times a month. This keeps the ink from drying and disrupting the printing process.
Summary
Epson head printer cleaning is easy when you do it automatically. However, your printer head needs manual cleaning if that fails. This begins with going to your printer’s menu, running a cleaning cycle, and a nozzle check. Then, do a pattern test and flush the nozzles. To clean your printer deeply, you will have to move the printer head to the ink cartridge and flush the nozzles with isopropyl. Lastly, you can put everything back together and check if your printer works well. So, periodically cleaning your printer’s printhead makes it long-lasting and gives you extraordinary printouts.
Frequently Asked Questions
You might have air bubbles in the ink channel. These bubbles can keep the machine from printing.
Yes, however, it should be mixed with some detergent, and you must be careful not to drop any water on the rest of the machine.
Leave a Reply