Ink cartridge errors can be a major setback, especially when you need to print important documents urgently. If you are using an HP printer and facing issues with incompatible ink cartridges, this comprehensive guide is here to help you. By following the steps outlined in this article, you can bypass incompatible HP ink cartridge errors and keep your printing tasks on track.
Understanding Incompatible Ink Cartridge Errors
Ink cartridge errors usually occur when there is a communication breakdown between the printer and the chip on the cartridge. These errors can be caused by various factors, such as using non-original ink cartridges, low ink levels, or damaged cartridges. Take a look at different methods to bypass these errors and ensure smooth printing operations.
1. Non-Original Ink Cartridge Error
This error might occur after the installation of a non-original cartridge. To resolve this issue:
- Click on Proceed, Continue, or OK to dismiss the error message and resume the printing process.
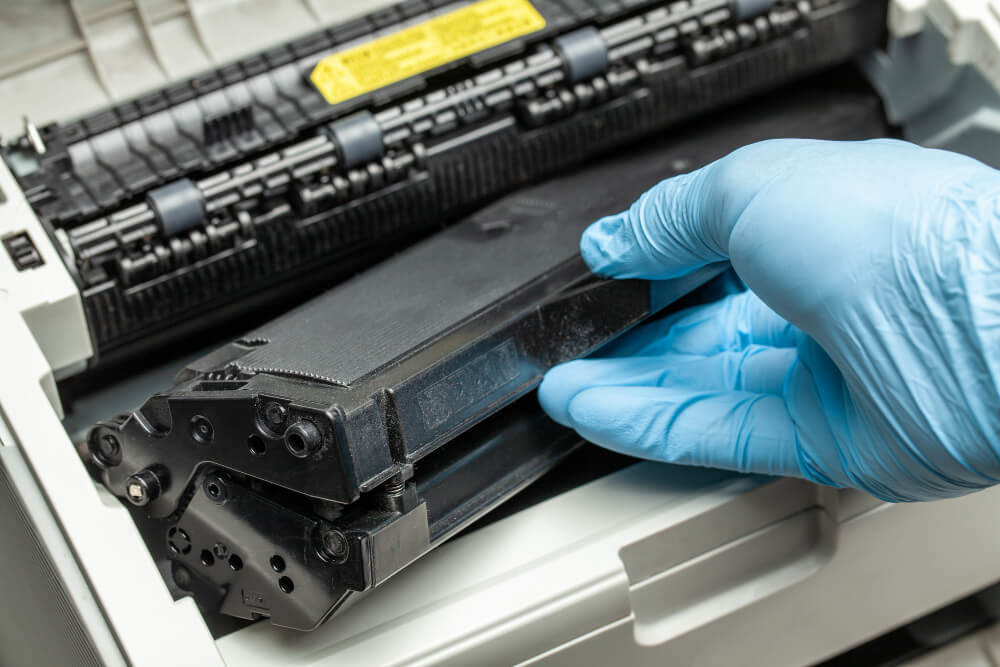
- If the error persists, remove the ink cartridge from your printer and clean the contacts on the cartridges and carriage with cotton, dipped in warm water.
2. Depleted Ink Cartridge
If you encounter this error, follow these steps:
- Disconnect the power cord from your printer while it is turned on.
- Wait for 60 seconds before reconnecting the power cord and turning the printer back on.
- If the error remains there and continues to show, then all you need to do is to remove the cartridge from the printer.
- The next step for you now is to clean the removed cartridge contacts with a cloth
- Once all it’s done, it’s about time to reinstall the cartridge.
3. Empty Or Low Ink
If you face this error while printing, there’s no need to panic. Instead, follow the given steps to fix the issue:
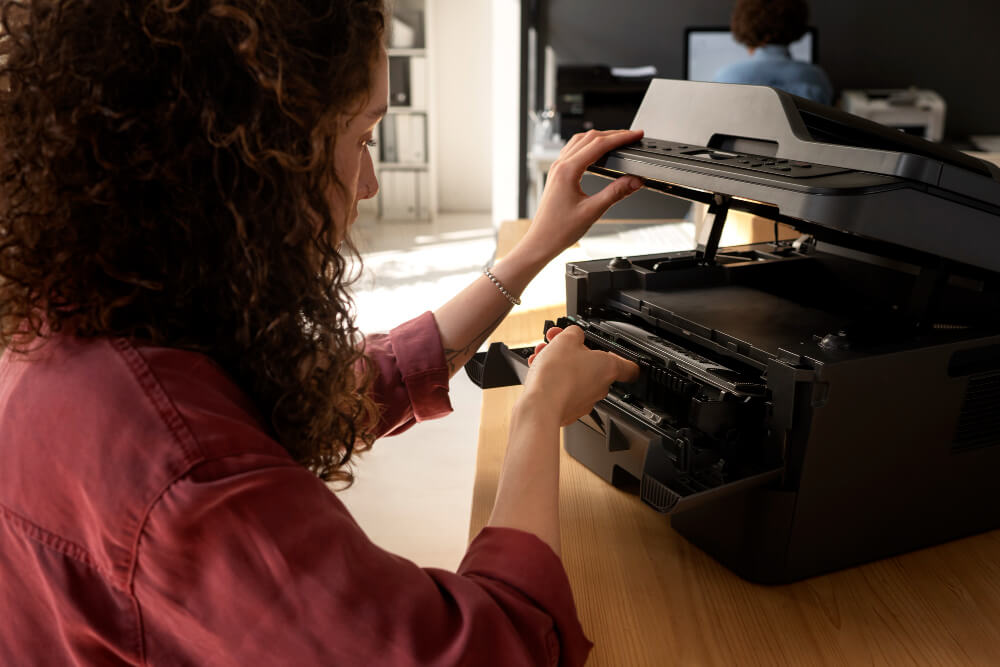
- First of all, you need to remove and reinstall the indicated cartridge. Keep doing this step until it is firmly seated in the slot.
- When it is seated in the slot, press clicks to Continue button. It will clear the messages and the printing process will resume.
Step-By-Step Guide For Overriding Incompatible Hp Ink Cartridges

We all know how big of a mess it creates. However, for your ease, we have this step-by-step guide to bypass incompatible HP ink cartridge errors. Take a look:
- Remove all of the cartridges from the printer.
- Place the incompatible ink cartridge back in the printer.
- Power off the printer and unplug its power cord from the wall. For this step, you need to Wait for 10-15 minutes.
- After that, plug the power cord back in and power on the printer.
- Cross-check if the printer is on or not. if it’s on, proceed to the next step. In this step, you need to Insert the next incompatible ink cartridge, one at a time. However, you need to make sure that you insert the incompatible ink cartridges first and save the working ones for later.
- Once it is done, power off the printer for 30 seconds to 1 minute. Keep it plugged in.
- If you own a printer that comes with more than two cartridges, then you should repeat steps 5 and 6 until all of the ink cartridges are successfully installed.
Alternative Solutions For
1. Non-Mac Computers
- Open your computer, go to the control panel or settings and there click on the printer settings.
- Once you find the printer settings, look for “Printer properties” or the “Advanced Printer” settings.
- Once you are there, you will see the option of “Port”. You need to click it and then disable it.
- From there, Enable “bidirectional support” and start printing.
2. For HP Smart App
- In that case, you need to log in, or if already login then open the app. From there go to the “Printer” status.
- Once you are there, press the printer with the incompatible HP ink cartridge.
- Then, you need to go to the printer and there you need to disconnect the printer from Wi-Fi.
- Once all is done, reconnect the printer to Wi-Fi and your printer will be ready for successful printing.
Overriding Empty HP Ink Cartridges
HP Inkjet printers offer high-quality images with vibrant colors and refillable ink cartridges. To override empty HP ink cartridges, follow these steps:
- In step one, you need to switch off the printer. For that, simply press and hold the “Power” button to turn off the HP printer.
- Once it is off, turn the HP printer back on by pressing the power button. It will allow it to run through its setup procedure.
- Now, install the refilled ink cartridge by opening the HP printer’s access door.
- When you are doing the above steps, you will see two dialogue box options appearing on your computer screen. These signs show warnings about printing with empty ink cartridges. Just Click “Ignore” on the two dialogue boxes.
- Now on the computer, click on the “Start” menu. Once open, select “Control Panel” followed by “Printers”. Look for the printer that is connected to your computer, click on “Preferences” and then locate the “Maintenance” window. To disable the ink level monitor, click “OK” to complete the process.
Conclusion
Bypassing incompatible HP ink cartridge errors is essential to ensure uninterrupted printing tasks. This comprehensive guide provides various methods to help you overcome these issues and maintain smooth printing operations. By following the steps outlined, you can effectively bypass incompatible HP ink cartridge errors and keep your printing tasks on track.
Remember, always use original ink cartridges and maintain your printer regularly to avoid such errors. However, if you encounter any issues, this guide will be your go-to resource for troubleshooting and resolving HP ink cartridge errors.
Leave a Reply