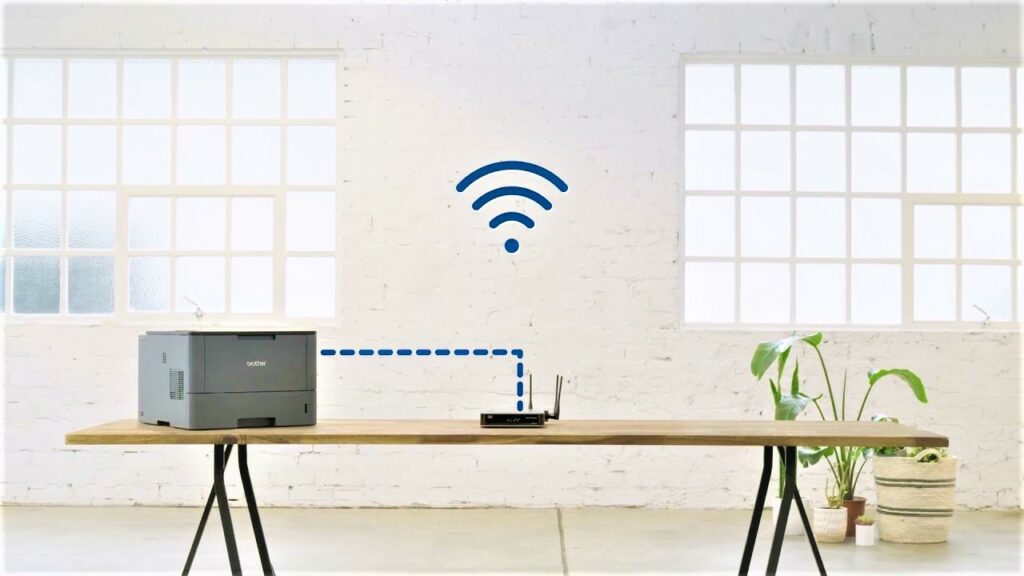
In this digital age, we can not ignore the importance of wireless technology in businesses today. The process of connecting a printer to WiFi might seem difficult at first. However, amongst various competing brands, Brother printers are easy to connect. They make this job straightforward for you with their easy-to-use wireless printing options. Plus, they’ve earned a unique reputation for their excellent quality and dependability.
If your goal is to know how to connect Brother printer to Wi-Fi, you’re in the right place! This guide offers a detailed and step-by-step process that will get your printing process on the way.
Important Considerations Before Connecting Your Brother Printer To WiFi
Before you dive in, it’s crucial to prepare by considering a few key details.
Firstly, ensure your Brother Printer is Wi-Fi enabled and that it supports your home or office Wi-Fi frequency band (either 2.4GHz or 5GHz). For example, the Brother HL-L2370DW series supports wireless networking, while the Brother HL-L2300D series does not.
Next, make sure you have your Wi-Fi network name (SSID) and password (Network Key).Usually, these details are found on a sticker on your router. If you have a dual-band router and both networks use the same name, you might need to temporarily change the name of one network to avoid confusion during setup.
Also, confirm that your printer model supports wireless connectivity. If you’re looking for information specific to your printer, you can find this in the printer’s manual or on Brother’s official website.
How To Set Up Brother Printer For WiFi : Step-By-Step Guide

The process is quite straightforward. Just take a look at the following steps:
1. Go To The Control Panel
First of all, you need to locate the control panel on your Brother printer. You’ll typically find it on the front or top of the printer. If it’s not immediately visible, you can always turn to your user manual for help.
2. Select Your Network
Once you’ve found the control panel, your next step is to search for the “Network” or “Setup” menu. Keep in mind that the exact name may differ depending on your printer model. When you’re in that menu, select either the “Network Setup Wizard” or “Wireless Setup Wizard”.
You’ll soon notice the “WLAN Enable” option on your screen. Click ‘Yes’ to activate it. Now, your printer will begin to scan for Wi-Fi networks nearby. A list of these networks will appear. Simply find and pick your own network from this list.
3. Enter Your Password
Based on your network’s encryption and authentication method, you might need to input your password. Once you’ve entered this information, confirm your settings. Your printer will then attempt to connect to your Wi-Fi network.
If everything goes well, you’ll see a “Connected” under the network name on your screen. On the other hand, if the connection doesn’t work, your printer will immediately print out a wireless connection report. This handy report will contain an error code. You can use this code to pinpoint the problem and find a solution.
4. Test The Connection
This step will confirm whether your printer is connected to the WIFI or not. To test the connection, you can send a document or photo from your computer to your printer. If it prints successfully, your setup is complete.
Why Isn’t Your Brother Printer Connecting To Wi-Fi?

Despite knowing how to connect Brother printer to Wi-Fi, you might still face issues connecting your printer to WiFi. There could be several reasons for this, including incorrect network settings, outdated printer software, or a malfunctioning router.
Always make sure your printer software is up-to-date by checking the Brother official website. Also, resetting your router can help solve any connection issues.
How iPhone Connect To Brother Printer Via WiFi
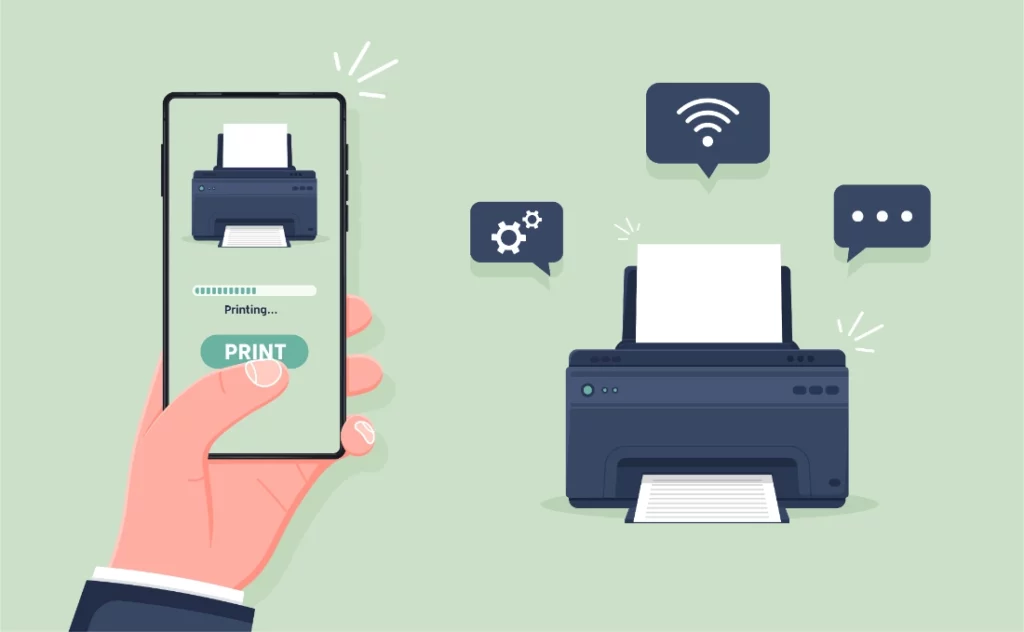
Brother printers integrate with Apple’s AirPrint, which makes printing from your iPhone an easy task. Open the file you wish to print, tap on the share icon (square with the arrow pointing upwards), and select the print option. Then, choose your printer from the available devices, set your preferences, and tap ‘print’.
How To Connect Brother Printer To Wi-Fi On An Android Phone
Connecting your Android phone to your Brother printer is also simple.
Use the built-in print function of your operating system, or use Brother’s i-Print & Scan or iPrint & Label apps. Select your printer, grant the app permission to access your device’s location, and you’re ready to print.
Conclusion
Setting up your printer to connect wirelessly is a simple process that can be tackled with a step-by-step approach. Whether you’re using an iPhone, an Android phone, or a computer, you should be able to easily print wirelessly after reading this guide. Having your Brother printer connected to WiFi makes it easy to print documents, anytime, anywhere from any device.
Leave a Reply