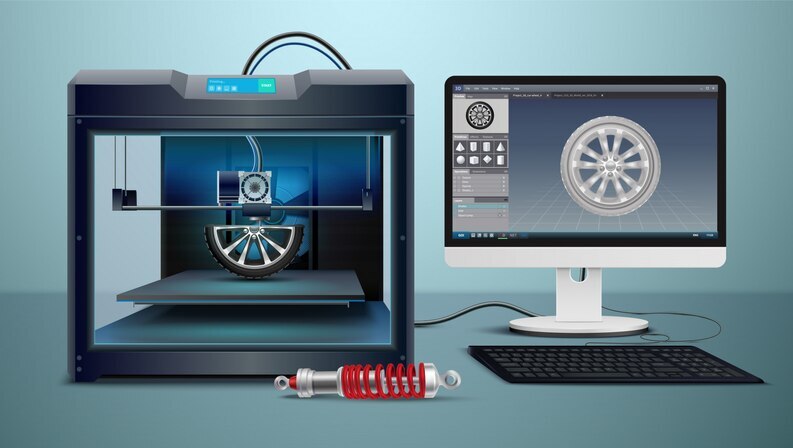
3D printing creates three-dimensional objects by adding layers of material on top of each other. This process of printing is also referred to as additive manufacturing. 3D printing begins with digital design files, which is then converted into instructions for the 3D printer. The printer follows these instructions to build the object layer by layer, resulting in a fully formed 3D model.
Moreover, 3D printing has applications across industries. It is commonly employed in healthcare, engineering, manufacturing, product design and fashion etc. Companies using 3D printing can quickly create prototypes and tools in-house without incurring additional expenses, saving both time and money. So it’s safe to say that 3D printing has truly brought a revolution in modern technology and has helped to transform many things that are designed and manufactured today.
Without further ado, let’s explore the steps of how to use a 3d printer and what do you need to start 3d printing.
1. Select The Right 3D Printer
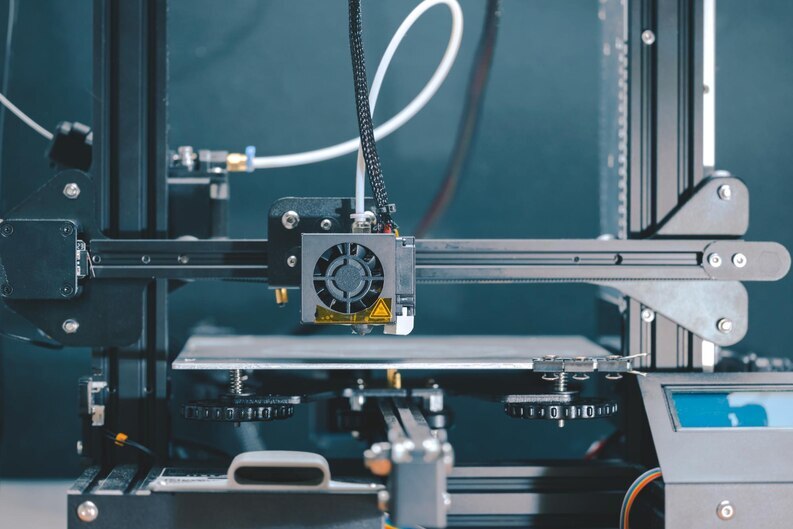
Before purchasing a 3D printer, it is necessary to select one that meets your individual requirements. Go through factors like filament compatibility, print quality, build volume, and budget before making the purchase decision.
Many 3D printer models are on the market from beginner-friendly options to more complex machines. So, conduct research and compare different models that best meet your specifications and requirements.
2. Installation Of Your 3D Printer
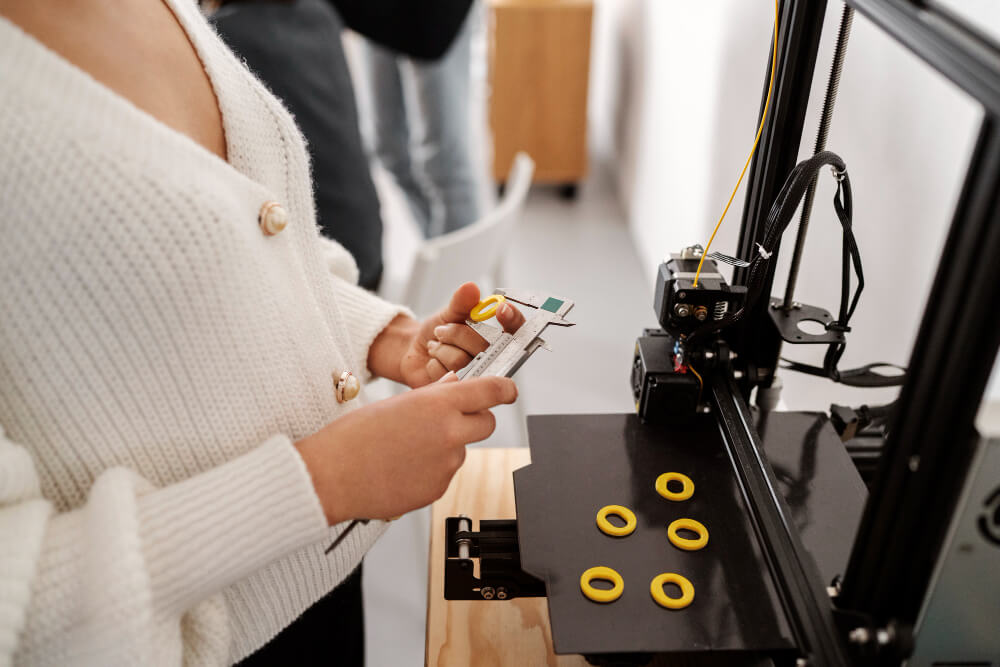
Once you’ve purchased your 3D printer, it’s time to assemble and connect it with your computer according to its manufacturer’s instructions. For Optimal performance, ensure the level of the build plate and calibrate the printer.
Also, familiarize yourself with various components of 3D printers such as extruder or filament spool holder before taking on this task.
3. Install Slicing Software
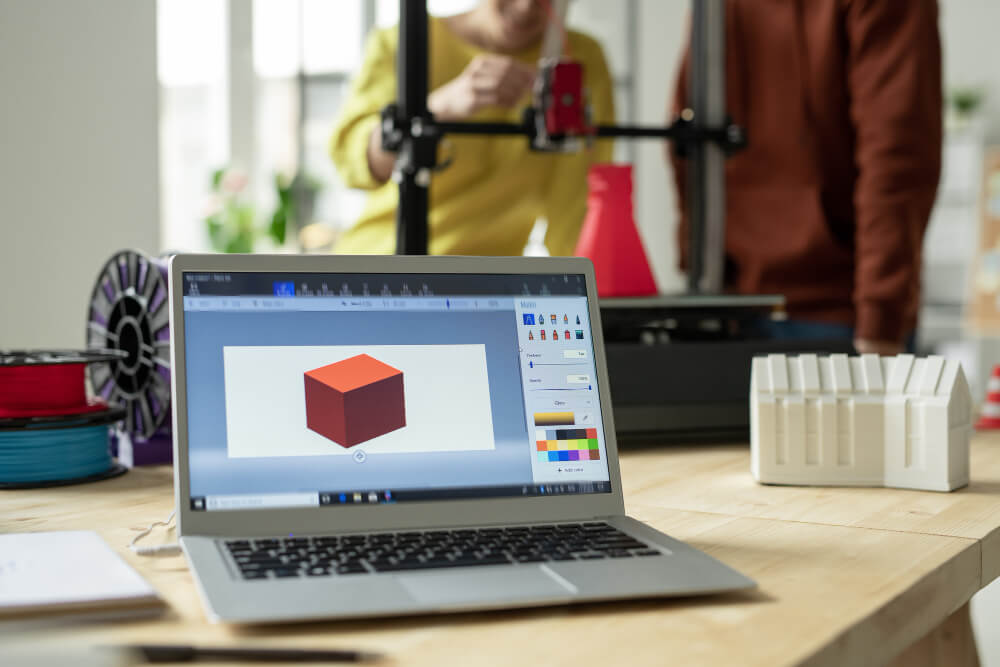
Slicing software is essential for 3D printing. It takes the 3D model file and converts it into a format, a 3D printer can easily understand. There are various Slicing software options like BCN3D Cura, Ultimaker Cura, or Simplify3D.
Install one on your computer according to your printer specifications. Besides, quickly learn how you can import your 3D model file, and for better results try to adjust the printing settings
4. Design Your Object
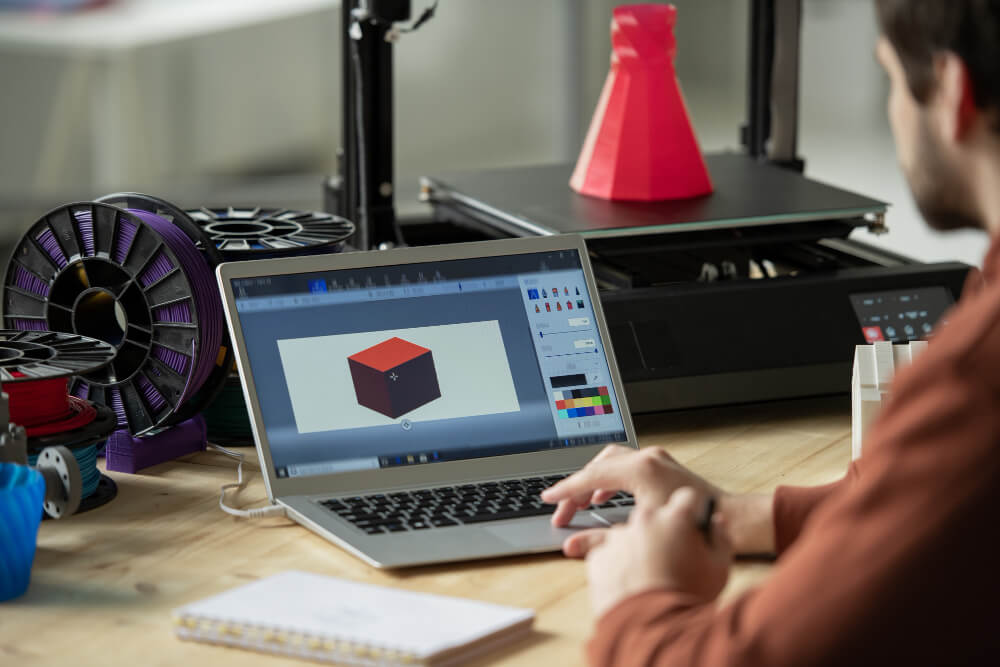
To 3D print an object, you’ll require a 3D model file first. Computer-aided design (CAD) software like Fusion 360, SolidWorks, Blender and Tinkercad, which are utilized to create complex 3D models.
But if you are a beginner or amateur to 3D design, then there are numerous online resources offering pre-made models for you. Thanks to TinkerCAD which does not require any experience and offers a seamless experience to the beginners.
5. Prepare Your 3D Model For Printing
In order to start your 3D printing process, you must have to prepare your 3D model file firsthand. To prepare a 3D model file, open the slicing software and import your 3D model file. Later, adjust the scale, orientation, and position of the 3D model on the build plate.
The software will generate a sliced version of the model, dividing it into layers and creating a toolpath for the printer to follow. Review the sliced model to ensure that everything is correct before proceeding to the next step.
6. Choose The Right Filament
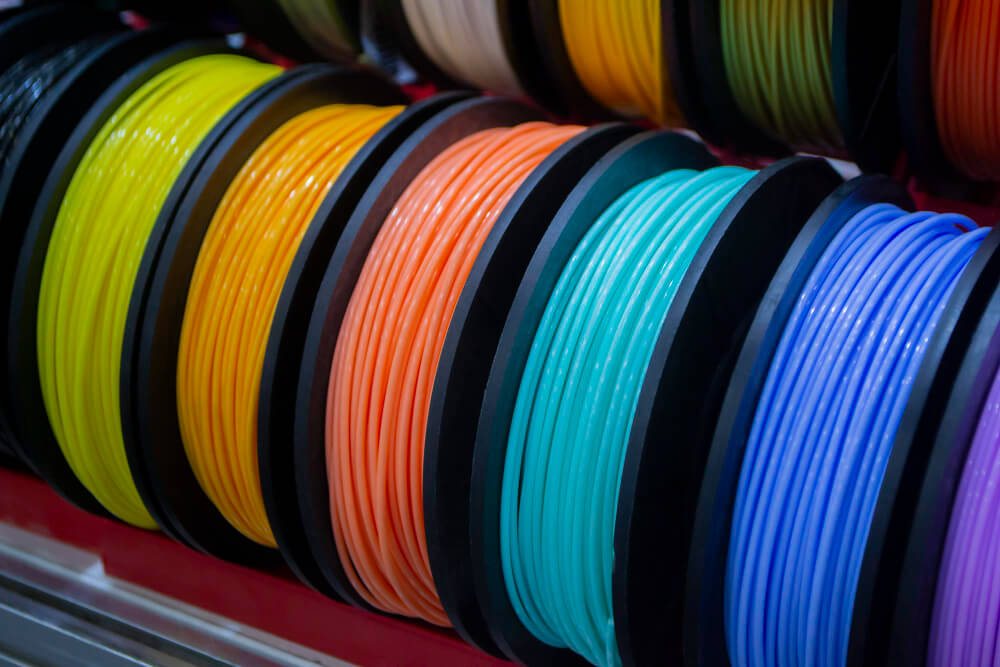
Filament is the material used during 3D printing to form objects. There are various kinds of filament available, including PLA, ABS, PETG, and TPU filament. Each filament offers different properties and characteristics.
As we mentioned above, choose one that best meets your needs for optimal printing results. For beginners and amateurs in the 3D printing world, we recommend you to go with PLA as your filament, since it is easy to use and widely available.
7. Modify Printing Settings
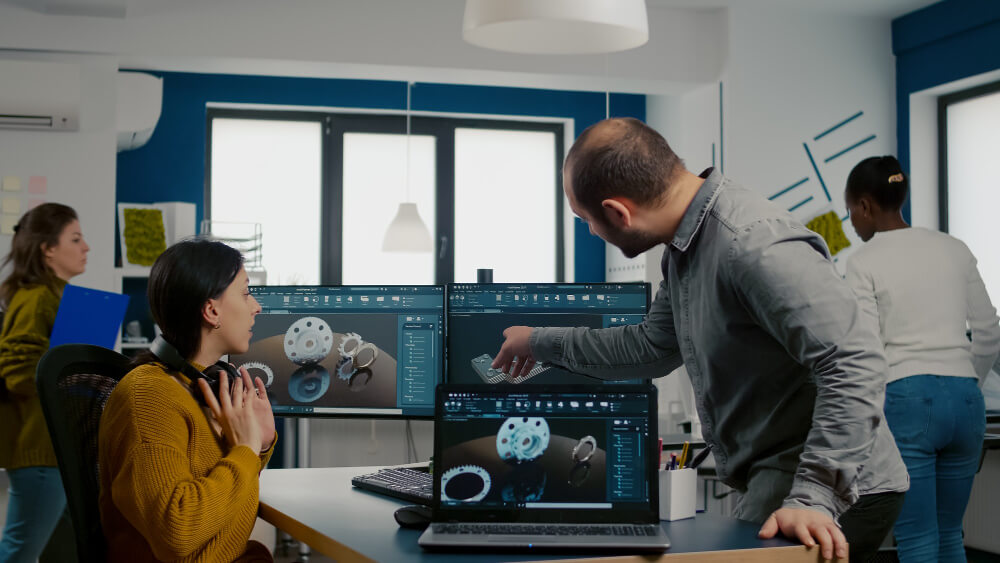
In the slicing software, you’ll find a range of printing settings that you can adjust to achieve the desired results. These settings include layer height, print speed, infill density, and support structures.
Your optimal settings may depend on the complexity and properties you desire for your final 3D model. Try to experiment with various settings until you find one which offers both print quality and printing time efficiency.
8. Preheat Your 3D Printer
Before you begin 3D printing, it is necessary to preheat the printer. This ensures that the filament will melt evenly and adhere securely to the build plate.
Set the nozzle and bed temperatures according to the filament manufacturer’s recommendations and wait until the printer reaches the desired temperatures before continuing with any further steps.
9. Start Printer
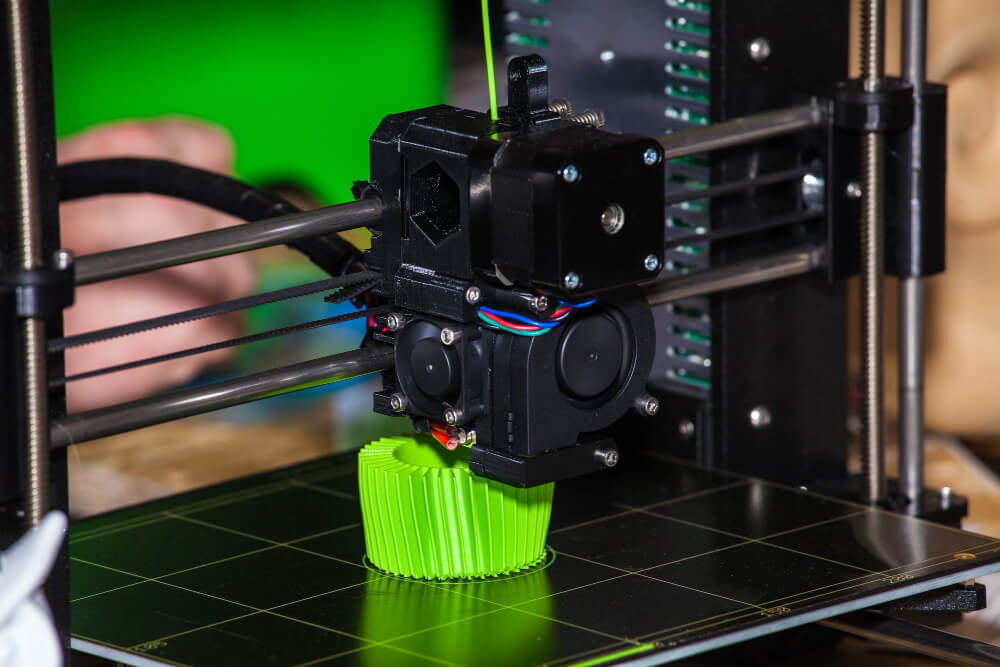
Once your printer is preheated, it’s time to create your 3D model. However, ensure that the build plate is free of debris or residue before beginning this step. If necessary, apply a thin adhesive layer.
Double-check that the filament is loaded correctly and feeding into the extruder smoothly. Start the print from the slicing software and monitor the progress.
10. Post-Processing
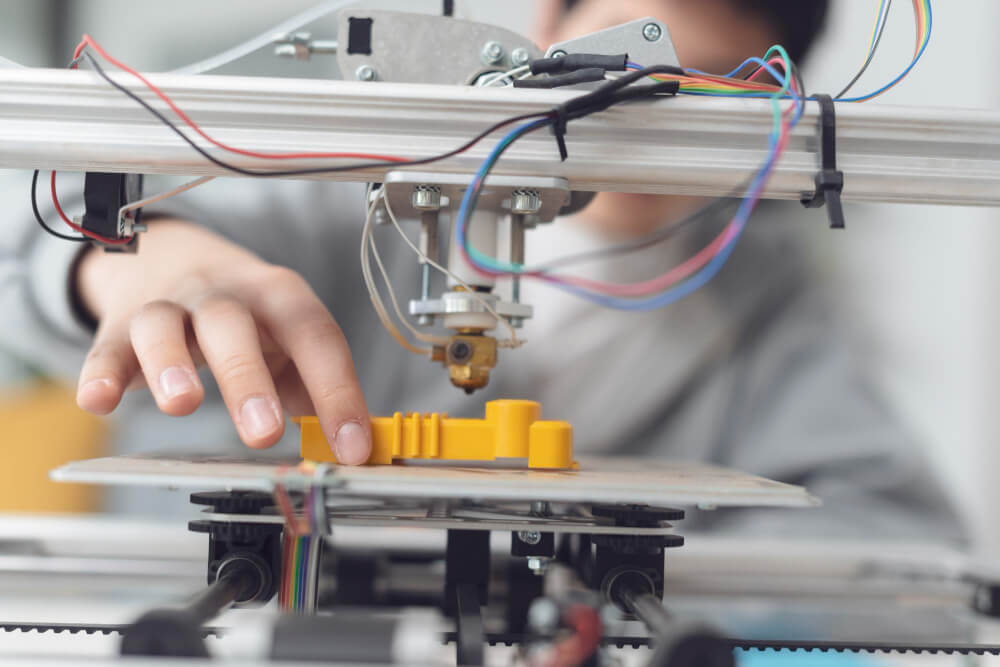
After your print has been completed, it is time for post-processing. Gently lift off the object from its build plate using a spatula or scraper. Trim off any excess support structures if they were used during the print.
Depending on which filament was chosen for printing, additional post-processing steps such as sanding, painting, or smoothing might also be required to achieve your desired finish.
Troubleshooting Common Issues
Problem 1: Warping
Warping occurs when the corners or edges of the print start to lift or curl during the printing process. It is often caused by uneven cooling to the build plate.
Solution: To prevent it from happening, make sure that the build plate is clean and level. Apply an adhesive, such as a glue stick or 3D printing bed adhesion spray, to improve adhesion. Use a heated build plate if available. Moreover, you can also use a brim or raft to provide additional support.
Problem 2: Layer Shifting
This problem happens when the layers of the print are misaligned, resulting in a skewed or distorted object. It is usually caused by mechanical issues or insufficient belt tension.
Solution: Check that all belts and pulleys are properly tightened and aligned. Lubricate the moving parts if necessary. Increase the belt tension if it seems loose.
Conclusion
Using a 3D printer for the first time can be a daunting task especially if you are a beginner because there are lots of things to take care of before starting 3D printing. With our step-by-step guide of 3D printing for beginners, you will know what to do and how to print with a 3D printer.
Furthermore, always go with an easy and small-scale design in the beginning. Later with the increased experiences, you can print complex designs. Don’t be intimidated by challenges along the way, embrace them with open minds.
Leave a Reply