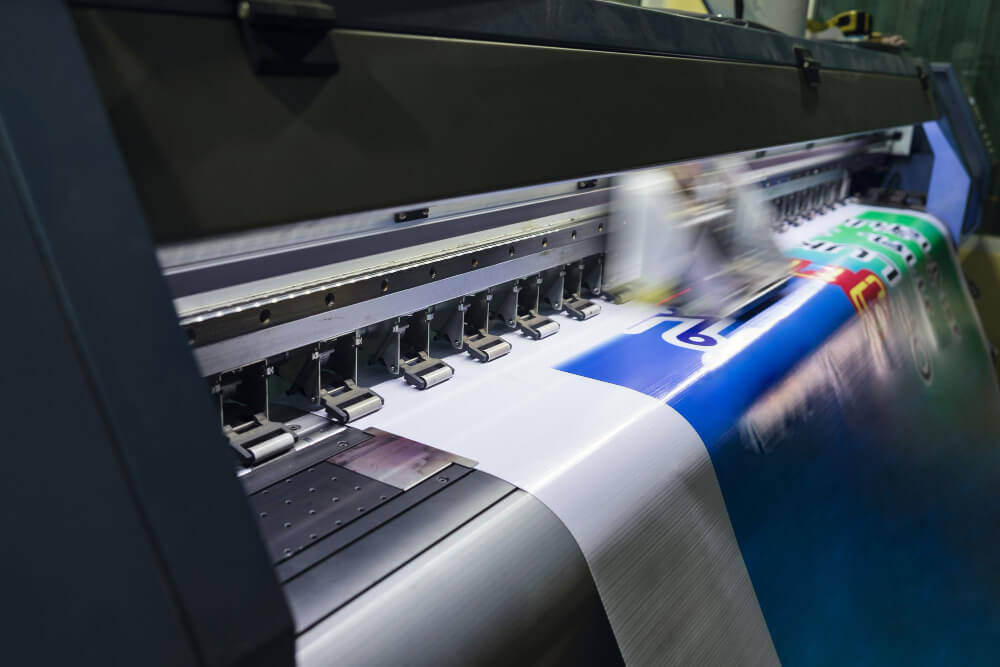
Are you looking to print detailed designs in all sorts of vibrant colors? Sublimation printers are the best choice when looking for a printer that offers quality, long-lasting colors and detail. This kind of printer employs a particular process, allowing printing on diverse materials. Although it requires some specific tools, the high quality of the prints makes it a worthwhile investment.
In this blog, We will delve deeper into what is sublimation printer and how does sublimation work. We’ll also compare sublimation printing with other kinds of printing and provide you with smart tips. Let’s get started!
What is Sublimation in Printing?
Sublimation is a type of printing that embeds ink deep into the blank. Scientifically, when discussing sublimation, we mean the direct change from solid to gas—no liquid state.
In printing, this concept applies to sublimation inks. When these inks are heated, they transform directly from their solid state to a gaseous state. Then, under the pressure of a press, the blank material absorbs the gaseous ink.
What Do I Need for Sublimation Printing?
Whether you are a small business owner or a hobbyist, getting started with sublimation printing is easy. All you need is the following:
- Sublimation ink
- Heat source
- Dye sublimation printer
- Transfer/sublimation paper
- Light colored blank
- Protective material for the mat and the plate
- Tape measure
- Heat resistant tape
- Tweezers
- Heat resistant gloves
- Design/picture
How Does Sublimation Printing Proceed?
It might be difficult to understand what sublimation is, but the printing is pretty straightforward. Here is the process:
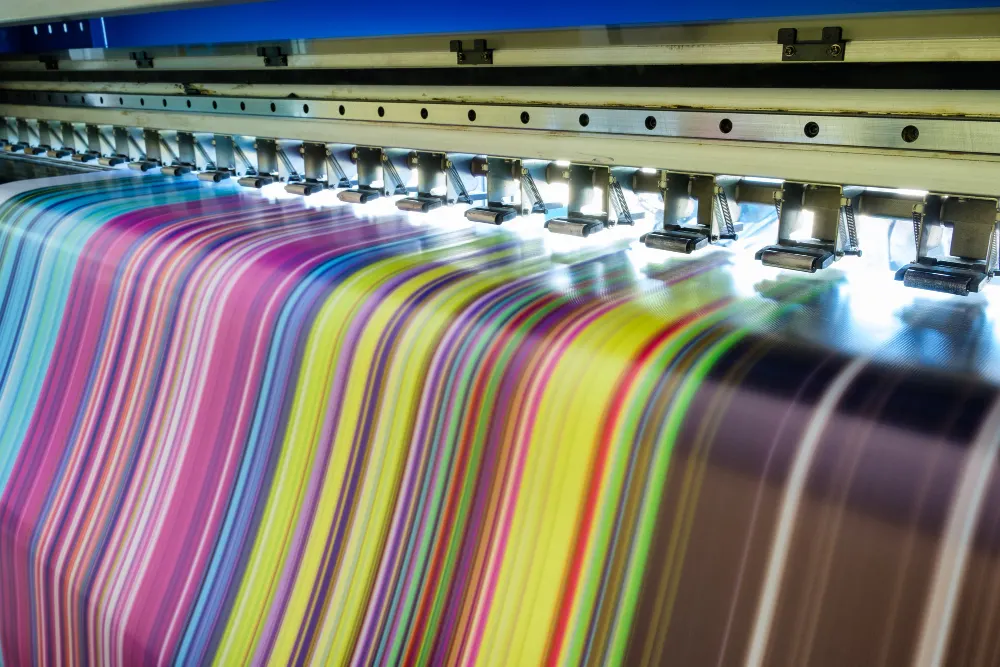
Step 1> Making Sublimation Transfer Design
Before pressing a design onto a blank, you need to get a good design onto the transfer paper. Here is how you can do that:
- Get a high-definition picture above 150 DPI.
- Check that you are using sRBG settings.
- Measure the area where you want to print and check that the image is the same size.
- Give the image a transparent background or use full-bleed and no white borders.
- Print the design onto transfer paper using sublimation ink.
Step 2> Preparing the Work Station
Once your design is ready, you need to get the rest of your setup in order. This means protecting your mat and plate as well as putting on heat-resistant gloves. You should also start ventilating the room to avoid the smells the sublimation gives off.
Step 3> Sublimation Printing
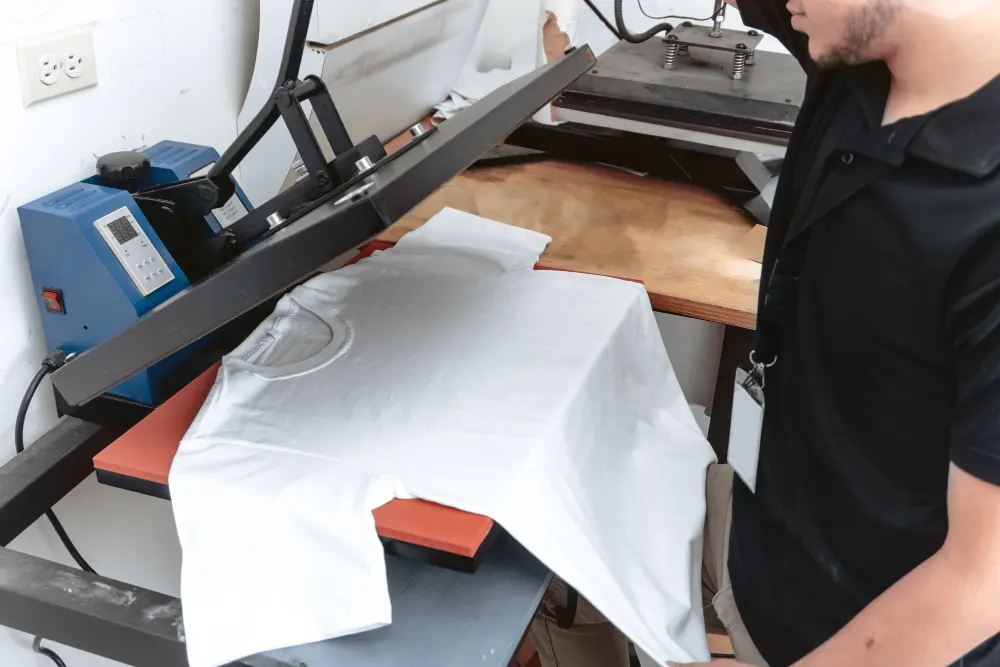
Now, you should be ready to press and heat the design into the blank. First, gather the blank you want to print, adjust, and transfer the paper over it. The transfer paper should be below if you work with a metal blank. Align them carefully. You can even tape everything in place with heat-resistant tape.
Now, all you need to do is bring down the plate on the blank and transfer paper. The heat press will transfer the design onto the blank.
Finally, you’re done when the blank has fully absorbed the ink!
The Benefits of Sublimation Prints
Now that you know what sublimation printing is, here are some reasons why you should choose this type of printing:
- Quality: It makes colorful prints that don’t fade or crack over time
- Variety: The blanks can be made of many different materials: Polyester or blended-polyester fabrics, metal, enamel, or ceramic with polymer coating, glass, and cork.
- Environmental-friendly: Compared to other printers, this type of printing wastes little ink, and the inks are non-toxic. It can also work on recycled polyester fabrics as long as the blank is a light color.
- Unit Numbers: With sublimation printing, there is no minimum number of units.
The Limitations of Sublimation Prints
- Safety: The heat press can be hotter than 400°F, so there is a risk of accidental burns. If the mat and plate are not properly protected or the transfer paper is not aligned correctly, there is a risk of the ink staining other things.
- Material: Sublimation does not print on natural fibers. Glass and wood must be treated before they can be printed with this technique.
- Colors: Though sublimation printing offers a great variety of colors from its CMYK inks, it does not have white.
- Time: Printing one item is quick. It takes barely 55 seconds of pressing down the heat press for the design to transfer. But when it comes to bulk orders, smaller printers, and heat presses will take more time than other types of printing.
- Cost: Sublimation printers come at a steep price compared to your average at-home printer. For instance, the Epson SureColor T2170 costs $795, while an average at-home printer like the Expression Home XP-4205 costs $69.99.
- Creasing: Folds in the blanks—like with brand new clothes—can affect the design, putting white creases.
Comparing Sublimation to Screen Printing
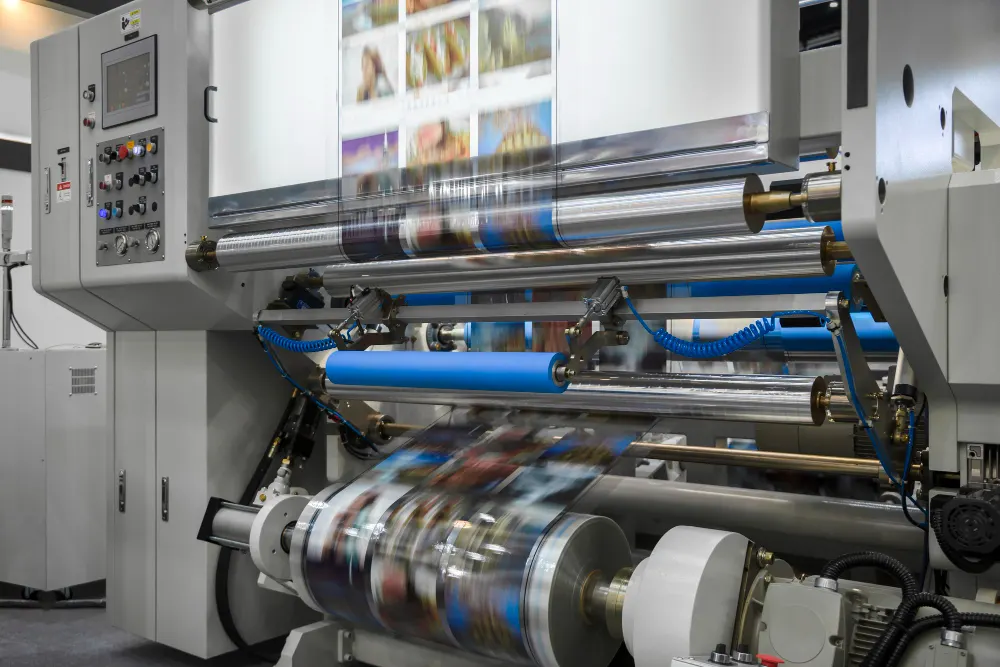
Both Sublimation and screen printing are great ways to transfer designs onto fabric. However, they do have some differences.
How Sublimation Beats Screen Printing
- Sublimation printing offers more colors.
- Screen printing is restrained to one area, while sublimation can print from seam to seam.
- Screen printing can have a very complex setup when printing multiple colors. This is because each color needs its stencil and must be layered. Sublimation prints are done in one layer.
- Sublimation prints are durable. Screen printing uses non-biodegradable inks and often wastes ink.
- Screen prints will fade and crack over time, while sublimation prints won’t.
When Is Screen Printing the Better Option?
While sublimation printing can be done on many materials, it is incompatible with natural fibers. Screen printing works on natural fabrics. If you only need a few colors, screen printing is better. Plus, screen printing is more economical than sublimation in terms of time when printing in bulk.
Comparing Sublimation to DTG
DTG, or Direct-to-government printing, sprays ink on the blank. Like sublimation, it soaks into the blank. They both produce vivid colors. Here is how these two types of printing methods differ:
- DTG works on cotton and cotton blends, while sublimation needs synthetic fabrics for the print to last.
- Sublimation needs a white base, while DTG works well even with a dark blank.
- DTG printing is restricted to the plate size of the printer, while that is not true for sublimation.
- DTG is faster than sublimation, in general. This process does not require heat, transfer paper, or sewing of the fabric after printing.
Sublimation Printing: Dos and Don’ts
- Tape together transfer papers if your printer is small.
- Don’t use heat guns as a heat source; it gives mixed results.
- Use a source of heat that goes up to 400°F, like a convection oven or air-fryer.
- Use a printer with an 8-color setting or more for the best results.
- Don’t use heat tape when printing on metals.
- Use sublimation acrylic for acrylic blanks.
- Do multiple tests when working with a nylon blank.
- Ventilate the room where you work.
- When printing on clothes, print first, then cut and sew together. This prevents creases.
Summary
Quick printing of colorful designs on a variety of blanks is the simple answer to “What is sublimation”. While there might be a learning curve, the process is straightforward – print the design, heat and press it to the blank, and done! Despite some drawbacks, sublimation’s main benefits are its high quality and durability.
Frequently Asked Questions
Regular printers are not ideal for sublimation printing. However, before you turn it on or insert ink with a new printer, you can put in sublimation ink instead and use it as usual.
Yes, you can do sublimation at home. You’re good to go as long as you have the tools and a well-ventilated area.
Leave a Reply