 The older individuals amongst you readers will remember the time when people first discovered that they could print images with their printers. It was a big deal for people who would always have to go to the local market to get a photo developed. How far have we come from that day today?
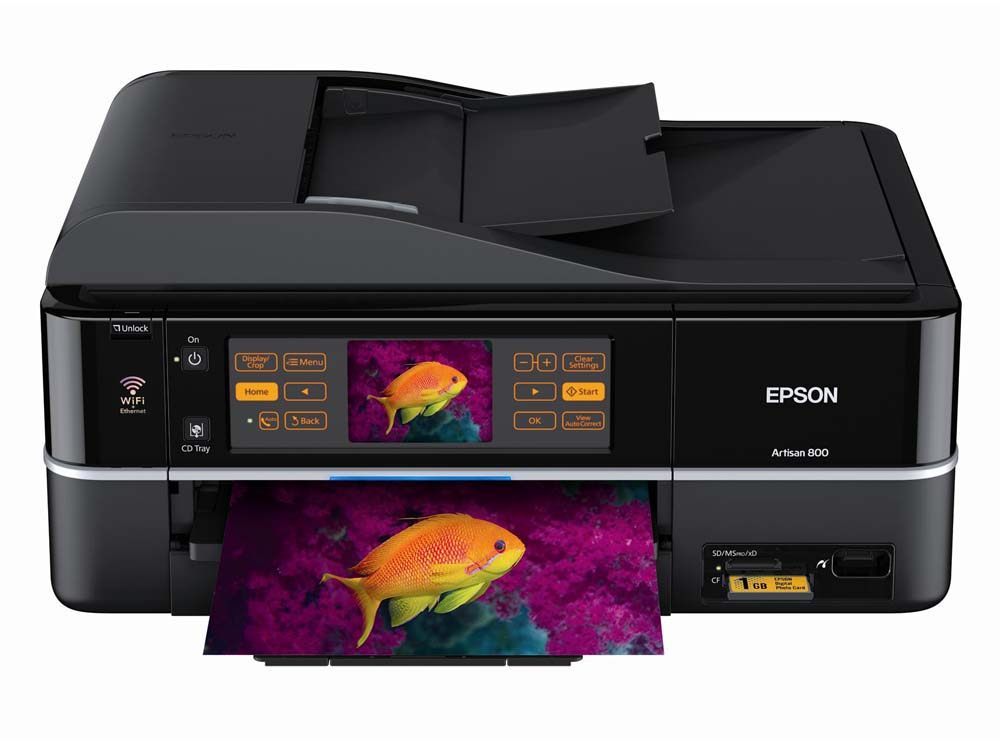
We now have printers that specialise in printing photos. Instead of having old fashioned dark rooms, photographers now have a handy printer and a dim room. People have started foregoing the visit to the local malls or markets to professional photo printers.
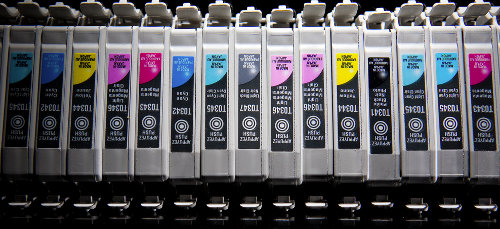
They now have printers at home that can do the same job at cheaper prices, particularly with compatible photo printing ink cartridges now available in the aftermarket. However, as convenient as specialised photo printers have made our lives, they’ve come with their own challenges.
The cost of photo printing ink cartridges is one of these challenges. Fortunately, this challenge can be comfortably dealt with since finding compatible photo printing ink cartridges is easy. The one challenge that has most people pulling their hairs out though is the amount of time photo ink takes to dry.
Let’s have a show of hands. How many of you have printed a photo at home and had it framed only to see fog on the glass after a few days. Looking beyond the fact that these are imaginary hands, we can see quite a few of you out there. That’s a sign that you didn’t let the photo printing ink on the paper dry out before framing it.
So, how long does photo printing take to dry anyways? Which factors play a role in the time photo printing ink takes to dry? And, what other things do you need to keep in mind with printing your photos at home? Here are some answers from Inkjet Wholesale.
Typical Time Photo Printing Ink Takes To Be Dry Enough
 This is a factor that is irrelevant. It will remain irrelevant up until it is qualified. Qualification is dry enough for what action.
There are mainly two things people ask about this factor for.
The first is dry enough to be handled and the other is dry enough to be framed. The time period is different for both.
Most modern photo printers and photo printing inks can be handled the moment they are processed. However, they are only dry enough to be lifted gently and moved to another place. They can’t be rubbed or sealed in anything because the colour on the paper hasn’t yet cured.
If you want to find out how long you should wait to frame a photo you have just printed, then our suggestion is a minimum of 24 hours. Many photo printing ink manufacturers recommend this time period as well. This is relevant for putting the photo in a photo album as well.
The reason why framing before this period is over is not a good idea is a process known as outgassing of solvents. The photo printing ink that your photo printer puts on your photo paper has solvents in it. The curing process involves the evaporation of these solvents.
These solvents’ evaporation process is why you can’t frame a photo before time. If you frame a photo before these solvents have had time to evaporate, then the glass on the frame will get foggy. This is the evaporated solvent collecting on the glass.
What Factors Affect the Drying Time of Photo Printing Ink?
 While the standard recommendation is for you to wait a minimum of 24 hours, the actual time period varies according to a wide variety of factors.
These range from the type of photo you’ve printed to the type of ink and paper you’ve used. Even the room conditions play a role in how much time your photo printing ink takes to dry up.
In fact, even the minimum time of 24 hours is sometimes not enough.
For instance, if you try to use normal printing ink to print on photo paper, then you can wait for aeons and the ink would not dry up.
So, which factors will play a role in defining how much time the photo printing ink on your printed photo paper is going to take? Here’s a list of the most common of these factors.
- Amount of Photo Printing Ink on Paper: The first variable is the type of image you have printed. In other words, if the amount of ink on the photo paper is high, then it’s natural that it will take longer to dry. The only way for you to evaluate how much photo printing ink is on the photo paper is to find out the colour density of the image. If it’s high, then you may need to wait longer. The brand of the photo printing ink also matters.
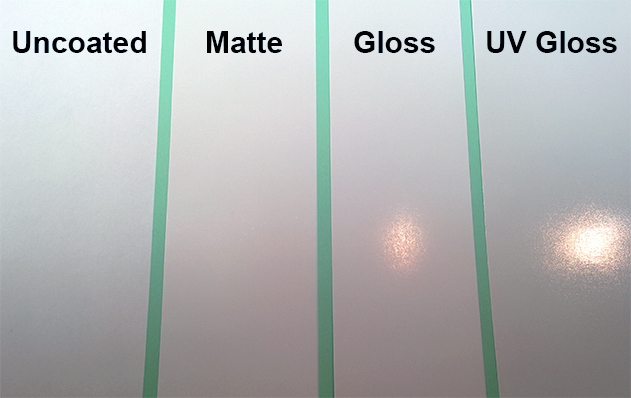
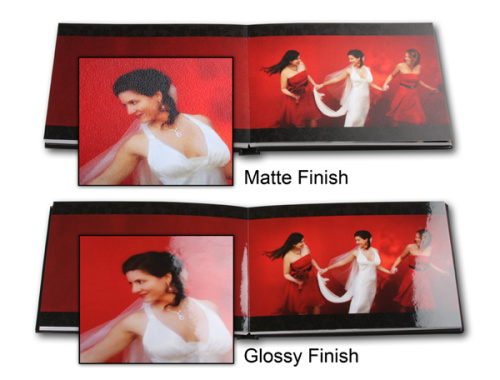
- Nature of The Photo Paper: Matte photo paper types tend to dry faster than glossy photo paper types. The reason for this is that matter photo paper tends to have a top layer. The photo printing ink goes under this top layer which is what gives the final photo its texture. Like in the case of photo printing ink, the brand of the photo paper also matters.
- Room Conditions: This is science 101. What kind of surrounding condition is required for anything to dry up? Low humidity, relatively high temperatures, and good air circulation. These factors apply to photo printing ink too. If you really want your printed photo to dry fast, then you need to place the paper on a flat surface in a room with low humidity and high temperature with maybe a fan.
Some Tips on Dealing with Photo Printing Ink
 The most common mistake people make when it comes to printing photos is that they take their printed photos and stack them very neatly in a corner to dry.
This is a big mistake because if you’re going to stack newly printing photos, then aren’t you reducing air circulation for the photos in the middle of the stack?
Moreover, isn’t there a chance that the photo printing ink from a photo will seep into the back of the photo above it?
Even worse is the risk that the evaporating solvents from a photo in the middle will just go and wreak havoc on the photos above. You’ll be ruining all your photos this way.
Another mistake that people make is that they don’t wait for the photo printing ink to cure before deciding on the colour quality. As the curing process occurs, the colours on the photo will gradually change. In the first one hour of drying, the colour of the photo will change. So, wait at least that much time before deciding to discard a print.
If you’re in a real hurry, then there are some things you can do to speed up the drying process of the photo printing ink. You could put a leaf of plain copy paper over the photo. This sheet of paper will absorb the outgassing solvents. In fact, you’ll see it gradually curling up as it does it.
Another thing you can do is wait for an hour or two for the photo printing ink to finish its initial drying up phase and then use a blow dryer on it. This may speed up the process but you need to make sure that the blow dryer is on a low setting.
I have printed several photos using:
—-Lexmark printer and #100 ink cartridges
—-HP 4 star glossy photo paper
After 24 hours the black in on the photos is smudging, getting fingers and table black and leaving finger prints on the photos.
Is the drying time responsible or something else?
Hi Terence,
We’ll have to troubleshoot this problem together.
Typically, black inks are pigment based. This means that they’re supposed to penetrate the fibres of the paper. If your prints are smudging after 24 hours then the ink isn’t penetrating the surface coating of the paper. The paper type may not be the right one. At the same time, the ink could be a culprit too.
First, I would like you to try using normal paper and see if smudging is still a problem. On normal paper, if the ink doesn’t smudge then the ink is most probably fine.
If the ink doesn’t smudge on normal paper, I would like to you try another paper. Try the type recommended for your printer. You can find this information in the manual for your printer.
Also, when you try the normal paper and the other paper, it might be a good idea to let the ink dry over 3 days. Generally, 24 hours is good enough but to be absolutely sure and take into account cold temperatures, you need more.